
Writing a game on pico-8
Back when we were Playing with Palettes, I justified the whole exercise with my desire to write a little more about old school game design. It turns out that, a while ago, I set out to write a game. A small but full game. From scratch.
On pico-8.
On what now?
The day I learned about pico-8, I knew I would write a game for it someday1. I warmly encourage you to check out their site for details but in a nutshell: pico-8 is an application that mimicks an old-school, eighties-style computer. A computer that you can freely program — and even abuse if you know where to poke in memory.
Honestly, the GIF on their front page already shows almost everything:
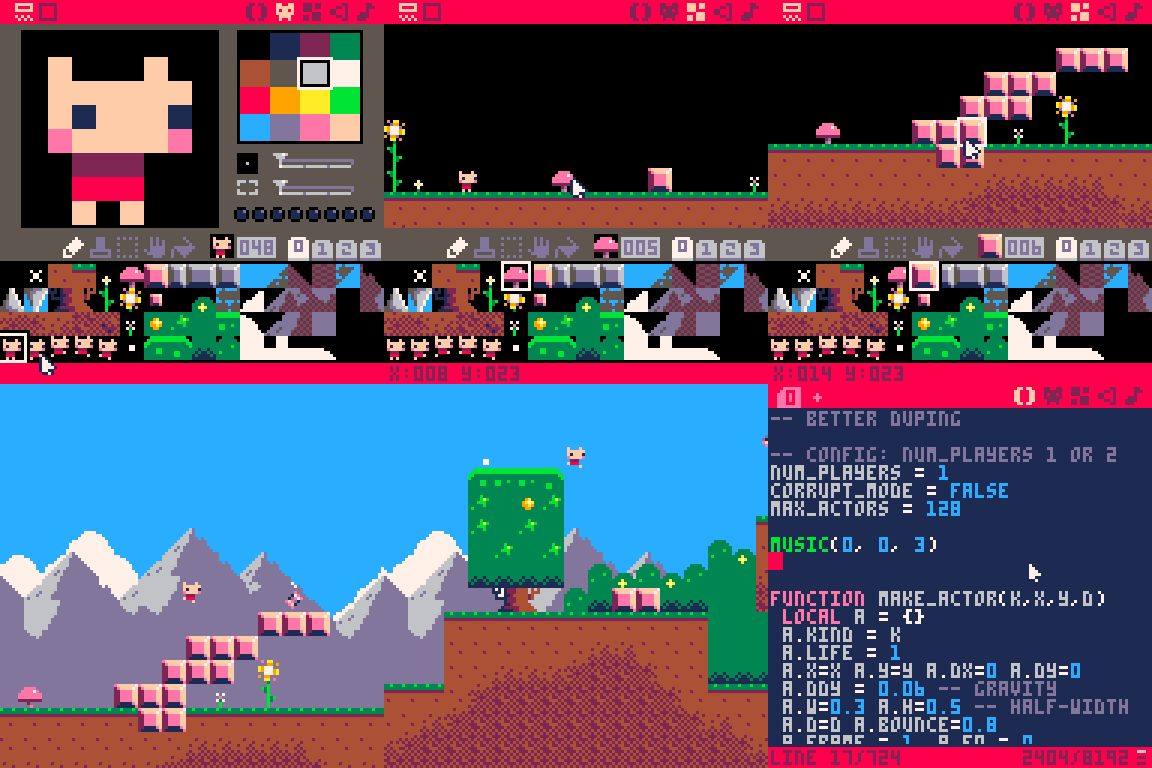
When you run pico-8, you are presented with a window in which you can:
- Edit code
- Edit sprites
- Edit levels
- Edit music and sound
- Run commands from a prompt
One of pico-8’s core philosophy is that limits spur creativity. Quoting their front page:
The harsh limitations of PICO-8 are carefully chosen to be fun to work with, to encourage small but expressive designs, and to give cartridges made with PICO-8 their own particular look and feel.
Choosing this platform immediately allowed me to think small, and set myself an attainable goal. I needed a simple enough game that would still have an actual gameplay loop, as well as a title screen and an ending — why not a scoreboard, for nostalgia? Then I thought maybe I could try reproducing one of the most pixely games from my childhood. I had a great candidate in mind!
I miss my Amstrad CPC
I can’t deny that a large part of my fascination with pico-8 comes from the fact it reminds me of the Amstrad CPC 6128 I had as a kid, on which I learned BASIC and played my first videogames2. One of the very first I ever tried was Astro Attack.
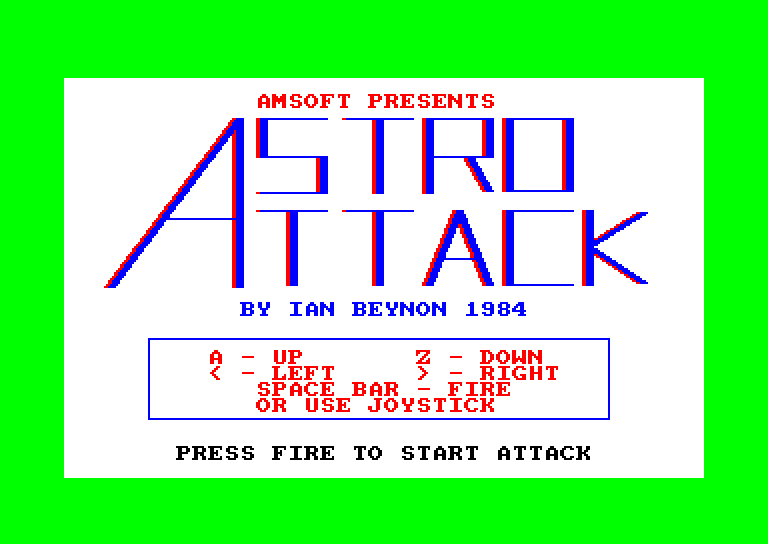
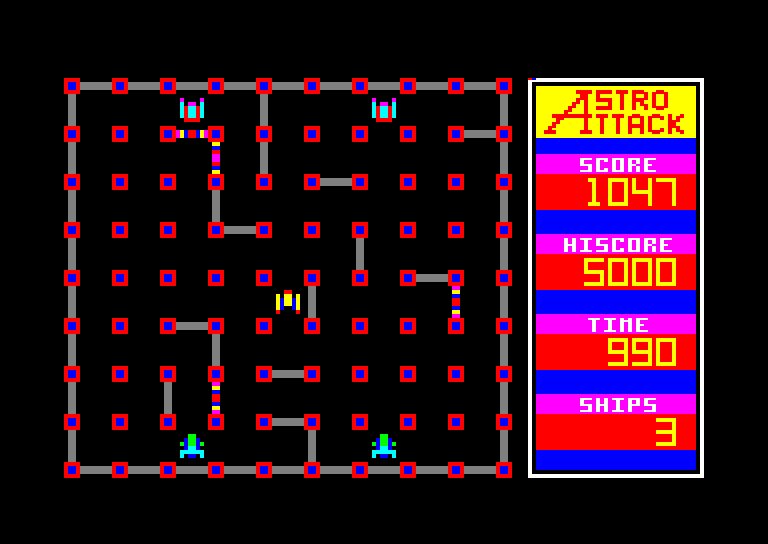
Even by the eighties’ standards, the game was a rather bland shooter with pretty crude graphics and no music. I still played it a lot, and remembered enough of it that I really felt I could make it again from scratch.
Where would I even start?
The idea actually came to me as I was playing around in the sprite editor and tried coming up with something at random…
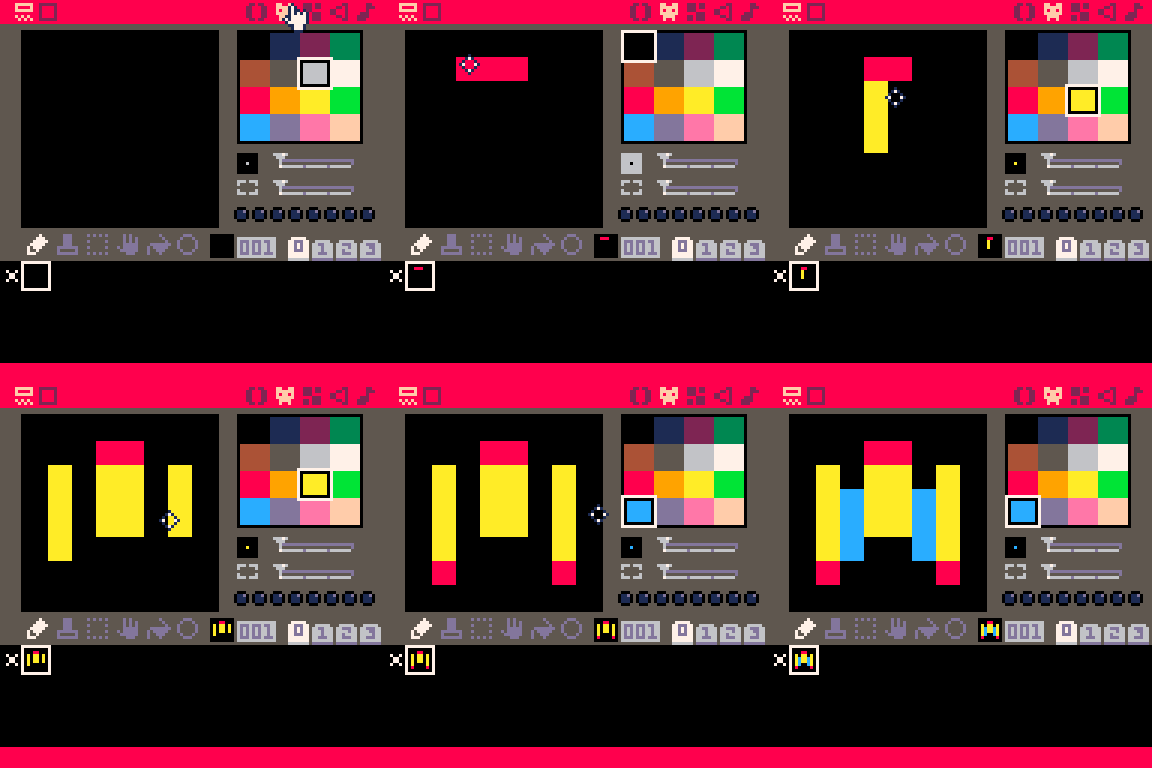
… it was deceptively easy.
Okay, doodling a 6×6 sprite is a far cry from having a game. Still, the idea was there and, hey, some of the work was done already!
Could I somehow make it move, now?
Well, the pico-8 code editor was only one click away. Now, it’s not the most comfortable way to write code but thank goodness you can use an external editor — and there’s even a dedicated extension for vscode3.
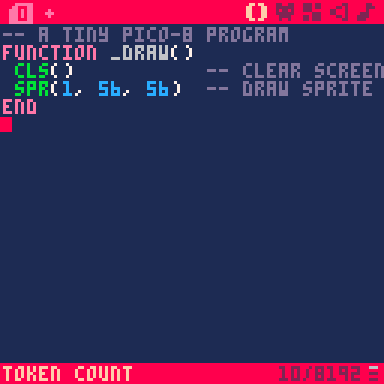
But just for a quick test, I tried writing code to simply display that sprite. With the help of the pico-8 documentation4, I learned that there was a pre-defined program structure. Also that pico-8 code is based on Lua.
Draw me like one of your PAL frames
When pico-8 runs a “cartridge”, it looks for three special functions in the source code:
- An
_INIT()function called once at startup, where you would set everything up. - An
_UPDATE()function called 30 times per second, where you would process events and update the game’s internal state. - A
_DRAW()function called 30 times per second, where you would put the code to actually render the current state of the game.
So to display a sprite in the middle of the screen, I could write something5 as simple as:
-- a tiny pico-8 program
function _draw()
  cls()           -- clear screen
  spr(1, 56, 56)  -- draw sprite #1 at coordinates 56,56
end
Want to see it move? Just update the coordinates where to put the sprite in, you guessed it, the _update() function.
-- a tiny pico-8 program

-- global variables to be updated
x = 56
y = 56

function _update()
  -- update current coordinates based on button press
  if (btn(0)) then x=x-1 end -- left
  if (btn(1)) then x=x+1 end -- right
  if (btn(2)) then y=y-1 end -- up
  if (btn(3)) then y=y+1 end -- down
end

function _draw()
  cls()         -- clear screen
  spr(1, x, y)  -- draw sprite at current coordinates
end
And voilà!
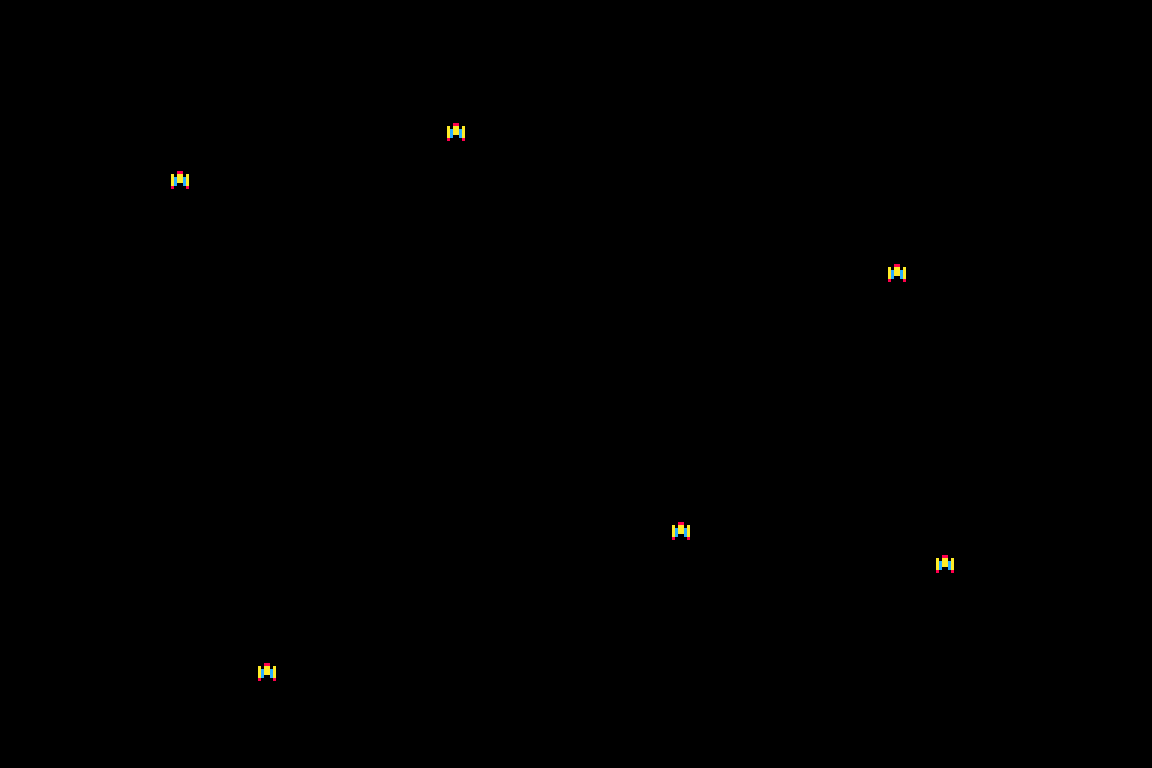
Easy! Of course it needs more code to flip/rotate the sprite depending on direction but you can see how we are doing things a little bit like we did in Playing with Palettes: update a state every frame, then draw the current state in the next frame.
Drawing a frame is a lot easier to do on pico-8 than it is on, say, a Game Boy. I can work with actual pixels if I feel like it — pico-8 offers plenty of drawing functions for lines, dots, circles and such — or sprites and even pre-defined backgrounds.
Since Astro Attack only lets you move on a pre-defined grid, I could just draw the playfield “manually” at the beginning of the _draw() function. Then, I just needed to ensure that the player and enemy sprites moved along that grid — that’s right, it goes in the _update() function.
-- drawing a playfield
function draw_field()
  -- outer walls
  camera(-8, 0) -- global camera offset
  rect(1, 1, 109, 97, 5)
  rect(2, 2, 110, 98, 5)

  -- intersections
  for i=0,9 do
   for j=0,8 do
    local x1 = i*12
    local y1 = j*12
    local x2 = x1+3
    local y2 = y1+3

    rectfill(x1, y1, x2, y2, 1)
    rect(x1, y1, x2, y2, 8)
   end
  end

  -- todo: a few random inner walls
end

-- _update() function omitted for this example

function _draw()
  cls()         -- clear screen
  draw_field()  -- draw playfield

  -- todo: put rest of the game logic here
end
And there it is:
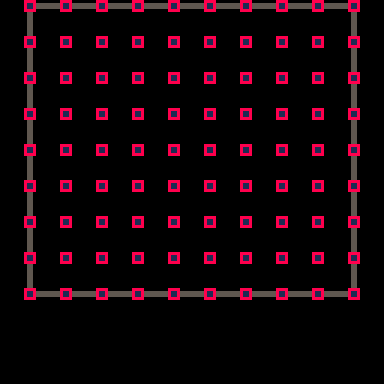
Now this is still very empty — there is room at the bottom for a simplistic UI that should show some information like the current level, current score, remaining time, etc. To mimick the original game I had to add:
- Enemies
- Energy walls that appear at random
- Bonus pick-ups
- Random walls to make the playfield less boring
- A decreasing timer
- A score counter
- A life counter
- Sound effects
And some more stuff, like the ability to shoot enemies or be shot by them, game states like a title screen to go back to when the game is over, a score board, an ending…
I’m only going to cover a fraction of all that in this article. Even for such a simple game, there was still a lot of work to do.
Making assets
The sprites were the easiest to create. I mostly reproduced the original game’s, adapted for pico-8 and its 16 colors, where the Amstrad CPC had 27 to pick from.
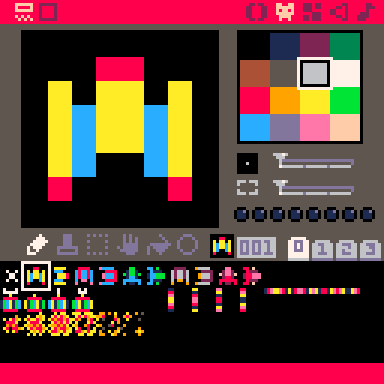
The spr() function lets us flip a sprite along one of its axes but there is no function to rotate a sprite, so I made two versions for each: a vertical and a horizontal one.
For the explosion animation, I just eyeballed it until it was, as usual, Good Enough™.
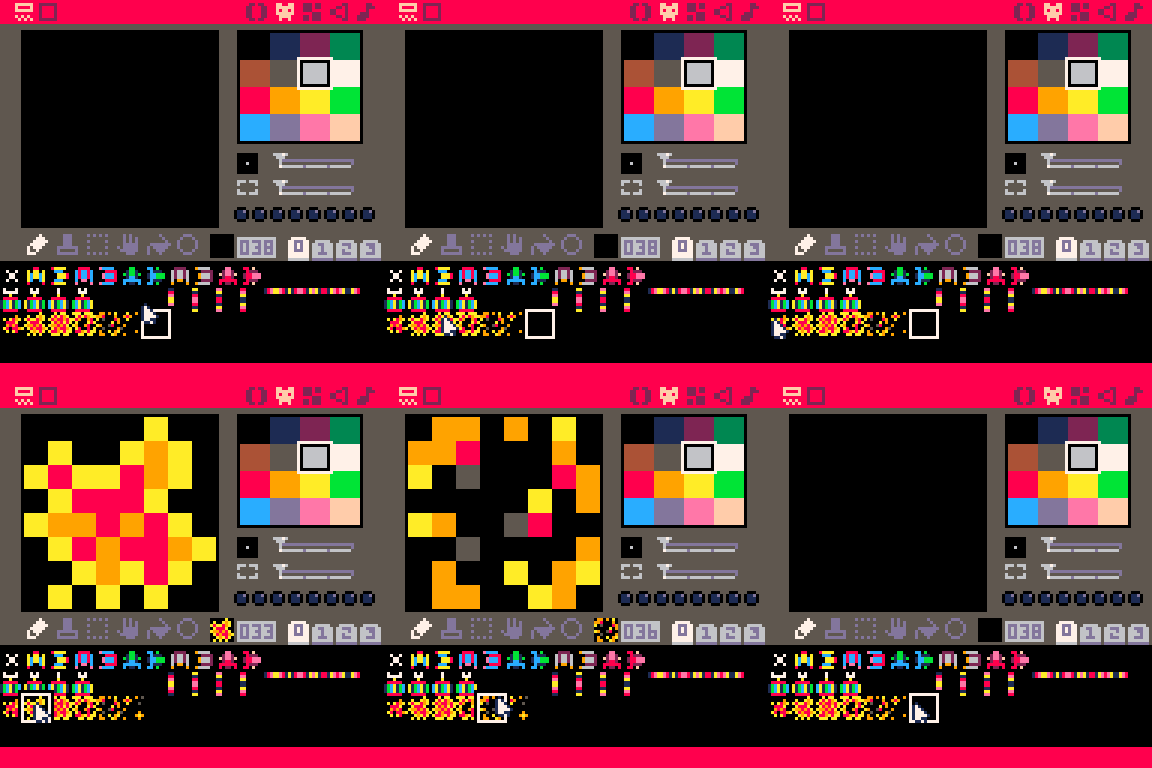
I must also confess I absolutely suck at sound, in case that wasn’t already obvious, so I tinkered with the sound editor until I came up with sound effects for explosions and shooting that were okay enough. Fortunately, Astro Attack had no music and very few effects.
The UI part was also kept as simple as possible: a timer, a score, a level number and reused sprites to represent remaining lives.
The hardest part of it all was adding the randomly placed walls inside the playfield. I didn’t even use sprites for them and just resorted to drawing rectangles in a separate grid specifically for these walls. More about that in a moment!
All in all, the visual part was done pretty quickly. Tying it all together into something playable was the actual challenge.
The Game loop
I had all the visuals I needed for a game, now I needed some logic. As we saw earlier, in a way similar to how we wrote a Game Boy ROM, all the logic is done in one part of the code, while the display is done in another.
One way to make all of these work together is to define individual game states. Not quite unlike the state machine we wrote for the Game Boy’s PPU, way, way back.
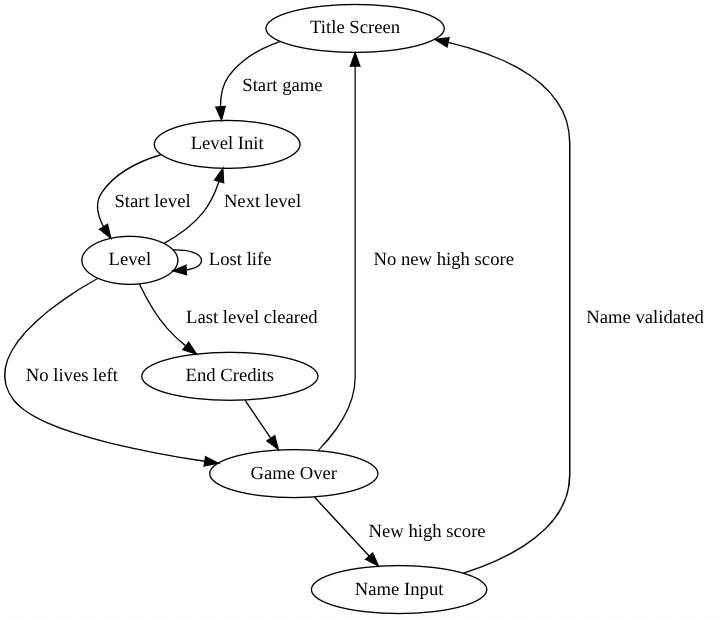
The graph above is a slight simplification of what the actual code looks like. But basically, using a mix of global variables for state IDs and dedicated functions, my _update() and _draw() functions ended up looking something like this:
-- ...
-- plenty of updating functions defined above

-- map state to update function
updatefor = {
 [s_init] = update_init,
 [s_intro] = update_intro,
 [s_starting] = update_starting,
 [s_level_start] = update_level,
 [s_level] = update_level,
 [s_dying] = update_dying,
 [s_over] = update_over,
 [s_edit_high] = update_high,
 [s_high] = update_high,
 [s_cleared] = update_cleared,
 [s_ending] = update_ending,
}

function _update()
 local updater = updatefor[gamestate]
 if updater == nil then
  printh("unknown state " .. gamestate)
  return
 end

 updater()
end

-- ...
-- plenty of drawing functions defined above

-- map state to draw function
drawfor = {
 [s_intro] = draw_intro,
 [s_starting] = draw_intro,
 [s_level_start] = draw_level,
 [s_level] = draw_level,
 [s_dying] = draw_level,
 [s_over] = draw_level,
 [s_edit_high] = draw_high,
 [s_high] = draw_high,
 [s_cleared] = draw_level,
 [s_ending] = draw_ending,
}

function _draw()
 -- always clear screen in case
 -- we don't have a specific
 -- draw function.
 cls()

 local drawer = drawfor[gamestate]
 if drawer != nil then
  drawer()
 end
end
For a given state, the proper updater function updates all the needed variables, and then the proper drawer function paints whatever the current game state should look like (title screen, current level, high scores, ending screen…)
You’ll notice that several distinct states can map to the same function. Those functions use other variables to maintain some kind of sub-state (like drawing the level in normal conditions, while the player ship is exploding, or with “GAME OVER” displayed on top, for instance).
I could probably have come up with something cleaner, using more granular states. But it’s not like the code itself was all that clean in the first place anyway6.
Subtleties
I’d like to try to keep this article from growing too long again, so I’ll just touch upon some of the issues I had to solve. Preferably in picture rather than flooding you with yet more code blocks.
Movements and collisions
Collisions were actually easy to implement: every update cycle, I could just use simple math to see if a sprite’s coordinates intersected with another and act on that. Like, destroy the ship if it collided with something that should destroy it (i.e. a shot hitting a ship, or the player sprite colliding with an enemy) or stop its movement if it hit a wall.
Movement was more subtle, because in the original Astro Attack, once you start moving you can’t stop unless you hit a wall, and you can only turn at intersections.
Restricting movements to the level grid was not hard, but making it comfortable to change direction without holding a key down for too long required movement buffering: when you press a direction key in Pico Attack, you actually store that move until the ship is in a position to actually change direction.
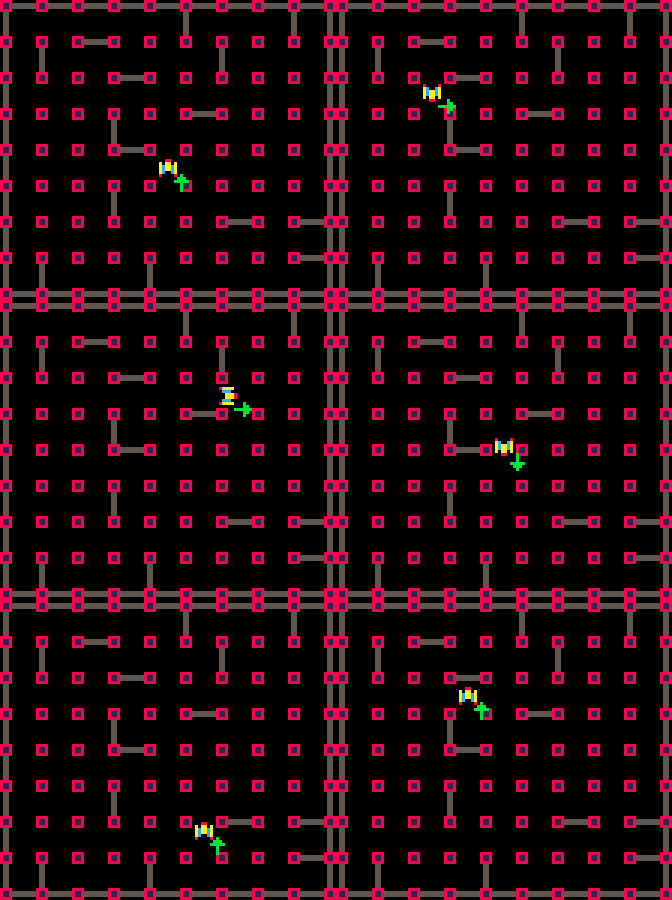
It made controls smoother altogether.
Enemy behavior
In Astro Attack, an increasing number of enemy ships are moving around. The basic enemy can only kill you by colliding with you, but in later levels, some enemy ships actually fire shots.
Even in the original, there wasn’t much in the way of enemy intelligence: those ships moved and fired pretty much randomly, and I didn’t do anything smarter than that. Every time an enemy ship reached an intersection (or a dead end), it would always pick a free direction at random7.
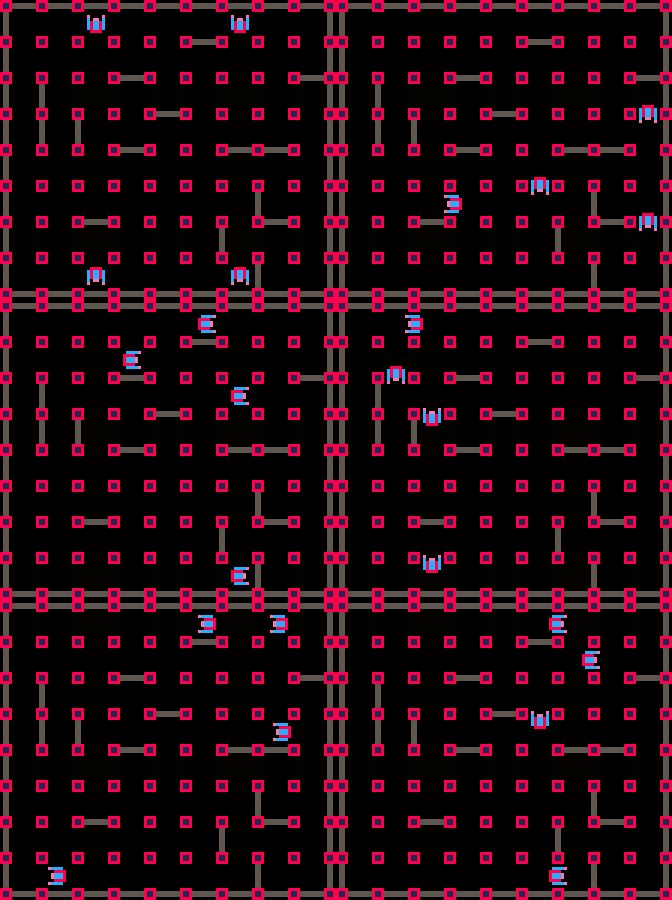
In the end, it worked okay and was close enough to the original game.
Random walls
You’d think that part would be trivial. Just scatter a few extra walls at random on the playfield when initializing a level. Which is what the game actually does! Except, there is a corner case I absolutely wanted to avoid:
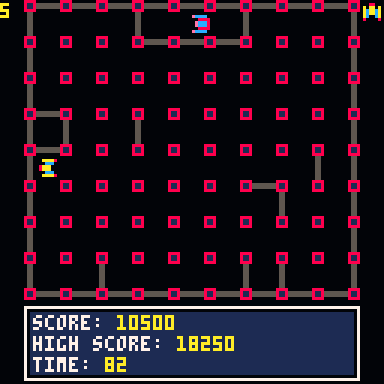
Making sure those random walls do not end up trapping the player or an enemy is harder than it looks. In the current version of the game, I used quick and dirty checks to try and avoid placing too many random walls too close to one another.
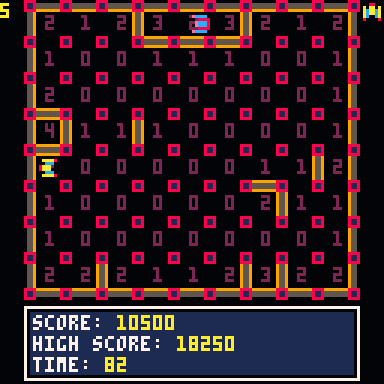
After some thought, I decided that trying to make sure no two tiles with two walls or more are contiguous should be enough. I know it’s not, and a mere 2×2 enclosed space would break the game, but the odds are low enough. Also I will totally fix it at some point.
The actual solution is to run a flood-fill algorithm to make sure the whole playfield is reachable from any point. I haven’t yet integrated that in Pico Attack because lazy, but thanks to my friend Balinares, I do have the basics to do so. Someday.
I just need to convert that little test program to Lua. Someday.
High-score UI
An interesting bit I hadn’t anticipated was that pico-8 is meant to be played like an old-school console: using only four directions and two buttons. That meant implementing some kind of UI to let the player enter their name in the high-score screen.
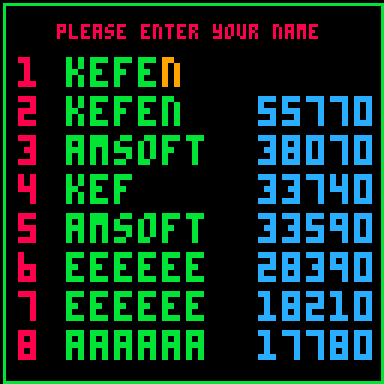
I went the way most Game Boy titles did it: up or down to change the letter, one button to validate, one button to delete, and a special “letter” that meant “end”.
Try the game!
All of the above put together amounts to maybe a fraction of the original game, but it’s complete enough that I decided to upload it to the pico-8 forums where you can freely play it! Go ahead, try it, see if you can reach the minimalist ending screen.
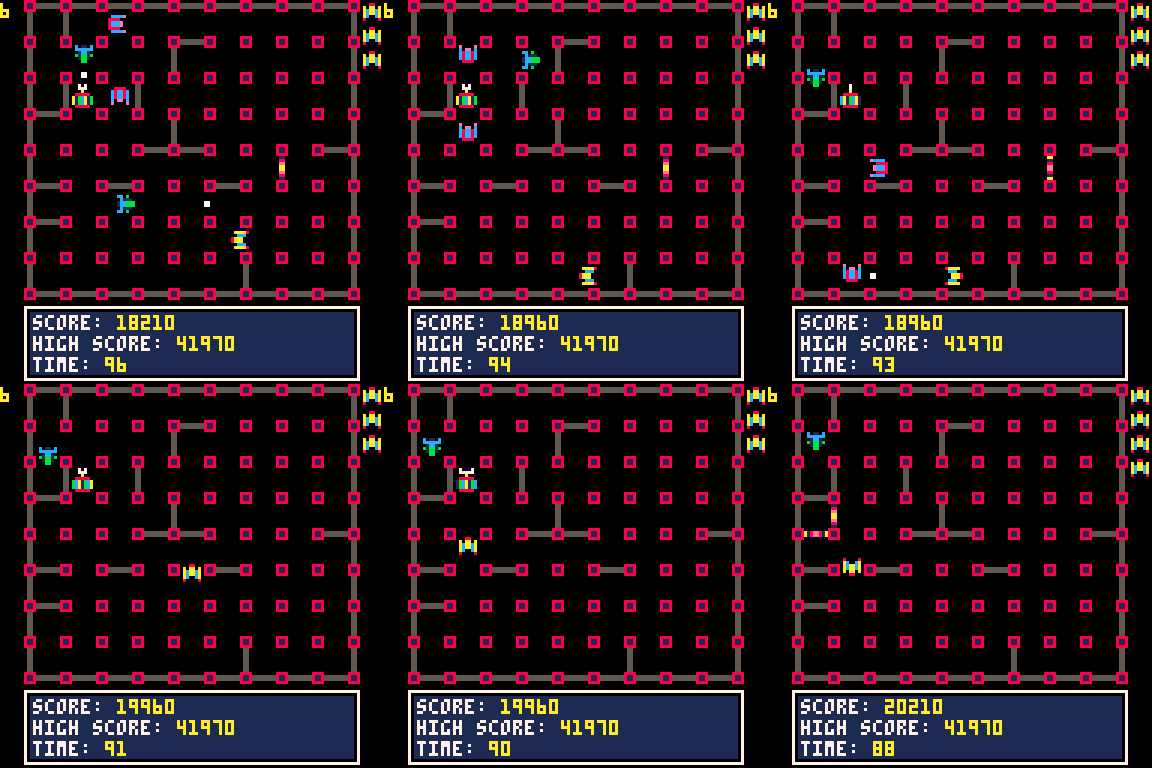
Pico Attack currently has 12 playable levels. I might add a few more someday, but we know how that kind of plan goes.
Oh, and if you do have a copy of pico-8 and want to look into the game in more detail, you can just run it locally and tinker around all you want. I also love that, in addition to natively exporting web-playable versions of your game, pico-8 also lets you bundle it inside an actual cartridge picture:
So that’s pretty much it! Making games is real fun — though a lot of work — and I’m pretty happy I managed to write a full one, short as it is.
I’d still love coming up with something more ambitious someday, maybe using another engine8. As things stand, this is probably going to be my only project on pico-8. Lua really isn’t my cup of tea, and while pico-8’s limitations did spur my creativity, they also sort of dampened my enthusiasm in the long run.
But hey, I’m still stupidly proud of that crappy little game!
Thank you for reading.
-
Yes, it would have been tempting to try and write a Game Boy game, but having spent a few years on the other side of that fence, I felt it would be way more work than I was ready to put in. Also the first version of Celeste ran on pico-8. If that’s not an incentive, I don’t know what is! ↩︎
-
Thanks to a somewhat nerdy uncle who had good connections and the ability to copy floppy disks, I had access to a sizeable selection of titles. ↩︎
-
Actually, any text editor will do: pico-8 source files are actual text, with sounds and graphics encoded in a nearly-human-readable format. ↩︎
-
Not only is it pretty nice and full of old school little gems like arbitrary addresses to
POKEvalues to for some advanced features, I actually find it quite pleasing to the eye, despite a few formatting and spelling shenanigans. ↩︎ -
Note that pico-8 has no notion of case. It will display text in upper case, but uses lower case internally. For visual comfort, all code presented further down in this article will be lower case. ↩︎
-
I’m surprisingly fine with this. This project was meant to be quick and dirty from the very beginning, if only because pico-8 only allows a limited amount of code tokens. In the end, I was way under the limit, but still! Also I didn’t like Lua enough to feel like trying harder. ↩︎
-
With one added subtlety: an enemy ship will only ever make a 180° turn if it has no other choice. This lets you tail an enemy ship without fear that it might suddenly reverse course and collide with you. ↩︎
-
As of this writing, I have experimented a tiny bit with Godot, but that’s a story for another time. ↩︎