A little therapeutic DIY
Summer isn’t my kind of season. I’m seldom at my best in summer. If anything, I’ve been particularly depressed when temperatures started steadily rising above 25°C, a few weeks ago.
We’ve been looking into air conditioning, but our Western European culture isn’t quite familiar with the whole concept. Sure, you can find a few models of portable AC units, but you’ll also find out very soon that your apartment offers no satisfactory way to connect the hose to anything.
After a lot of thought, I finally figured out I could probably build my own solution. I love little DIY projects like that, and it kept my mind busy for a few days.
The problem was, in itself, extremely simple: we needed a way to connect a portable air conditioning unit’s hose to the outside world. We’re renting our apartment, so drilling 12 centimeter wide holes in concrete walls wasn’t really an option. I’m not sure it would have been even if we owned the whole thing.
Some systems exist, where you half open a window, slide the hose out and cover the openings with canvas, but these seemed flimsy to me, as well as tough to put in place here due to how deeply inset our windows are in the walls.
At some point, we looked into window units, something pretty hard to come by in Belgium anyway. My boyfriend, well-traveled and having lived in the Caribbean and South Africa, explained to me how they usually work, how you could find, in more civilized countries, models that adapted to sliding windows. I first thought: “Well, I could just emulate that with a plank, can’t I?”
We never found a place that sold window units in Belgium, but the idea of using a plank to replace the window stuck. Planks are cheap, they can be cut to precise measurements, can be drilled all over, screwed, glued, re-cut, drilled again, and fitted with plenty of things to keep them in place. And if it doesn’t work out, well… scrap wood always finds a use around the house.
Planks are awesome like that.
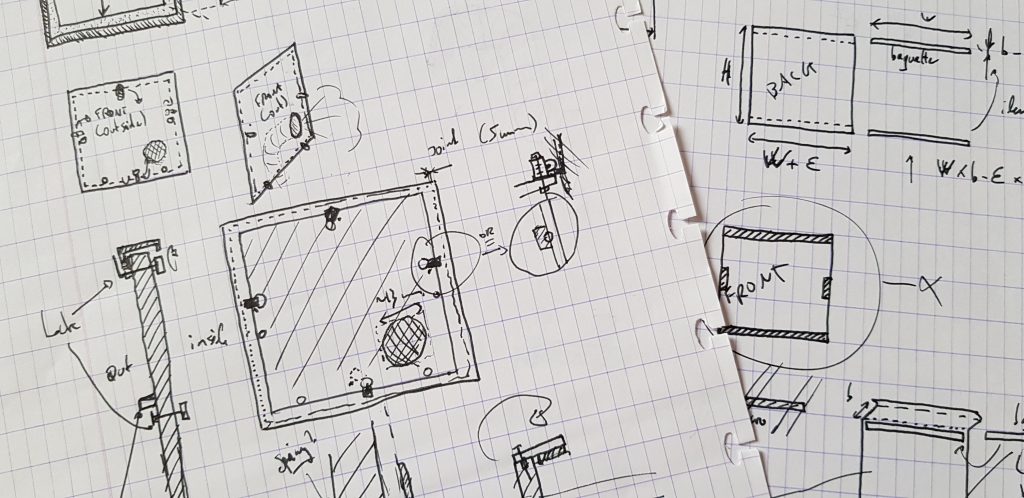
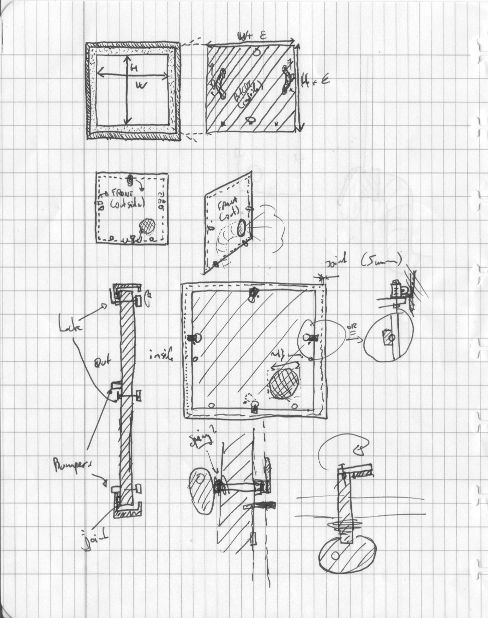
So I started doodling primitive blueprints during a particularly boring weekly team meeting.
The main issue was finding a way to secure the plank to the window’s frame. After a little browsing at the local hardware store, I settled for cheap mailbox locks that looked sturdy enough for the job.
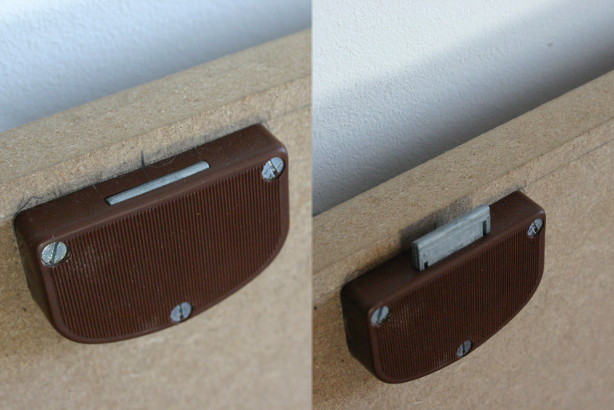
I only bought two for now. I’m not yet sure whether one more on either side is also really needed. The rest was mostly careful measuring, buying a few small bolts and the appropriately sized drill bits.
The hardware store also had a special on MDF, which they cut to the desired dimensions for no additional cost. From a huge board, they cut me one plank for the main bedroom, another for my office window, two medium-sized all-purpose square boards that I then used for support when drilling, and a small shelf — because I needed one for the laundry room and just happened to have the needed measurements in my little notebook.
The raw material, accessories and drill bits must have cost about 40 euros altogether.
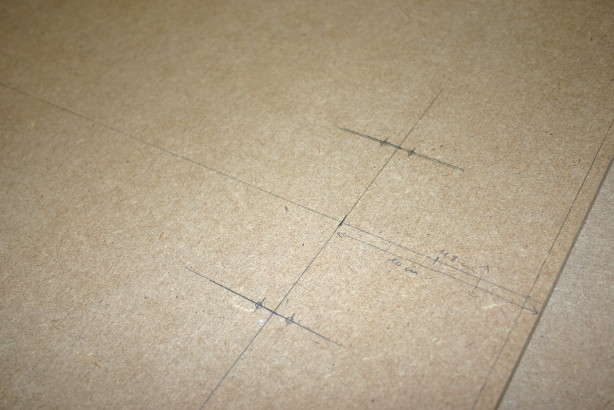
I then spent the better part of an afternoon measuring things, marking where holes should be drilled, drilling them and screwing things in place as precisely and securely as I could. I started with the handles for easy manipulation.
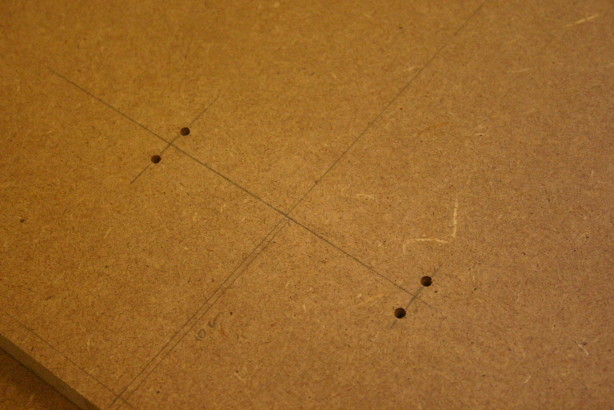
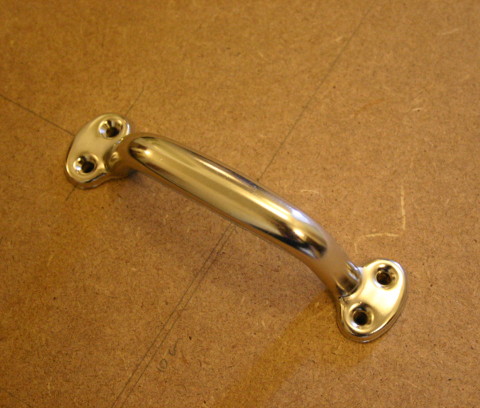
I immediately noticed a little drawback: MDF is heavy as fuck, and thus a little awkward to manipulate. The boyfriend, being a lot stronger than me, says it’s no problem. Putting the plank up in the frame is still relatively easy, and once it’s in, it’s a breeze to lock into place.
I also found cheap plastic pegs to line the outside of the plank and help position it properly. As it happens, though, the window frame rubber joint is snug enough to hold the plank on its own. I still nailed in a few at the bottom, to make it easier to rest the plank against the frame while putting it in.
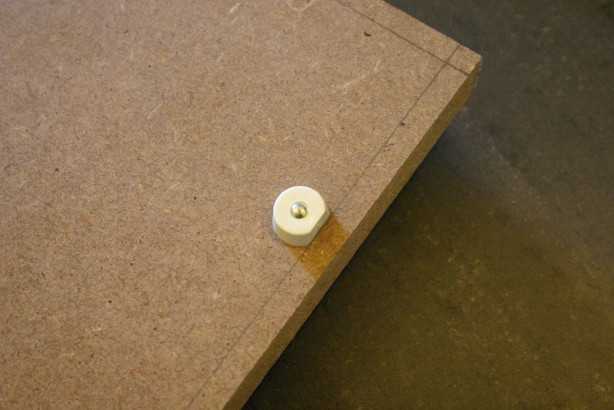
Then, you only need to turn the key once and voilà!
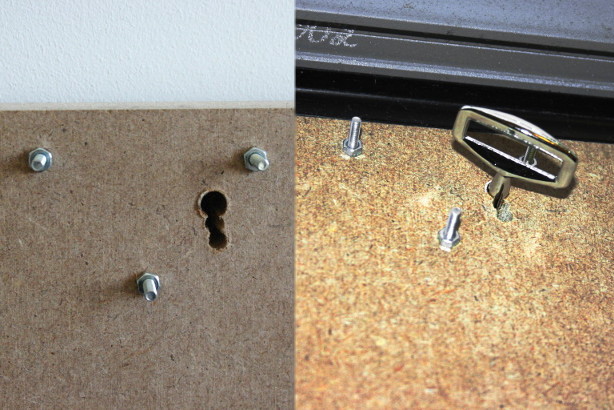
This is what The Plank looks like when in use — well, okay, not really, there was still only one lock on this test picture, but trust me, it looks almost the same with two.
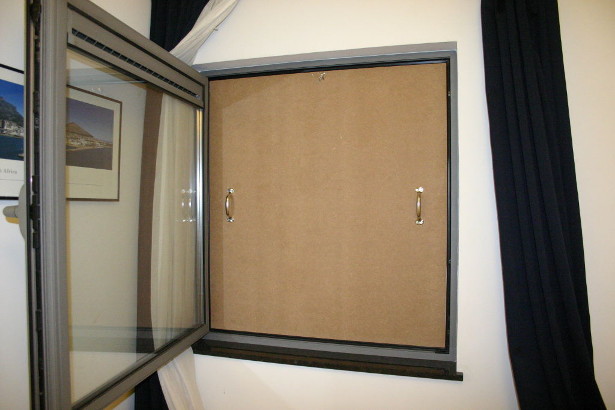
We gave it a try and slept with The Plank like this for a few nights. It fits snugly enough that we didn’t feel too much of an increase in temperature or in noise — we both sleep with earplugs, and the AC unit is going to make a lot more noise than the street outside anyway.
As an added bonus, The Plank keeps the room perfectly dark! Why people north of France have no use of shutters, I’ll never know.
I still need to paint and insulate it, and when we DO get the AC unit, I’ll have fun drilling a larger hole for the hose. But I’m glad to see that my silly concept already works pretty well.
So, we have YET to buy the portable unit, but our apartment is, at least, going to be compatible with it now.
And I’ll spend the summer sleeping under the covers again ♥!
